Monday, October 29, 2018
Wednesday, October 24, 2018
HALLOWEEN WITCH ~ PAPER CRAFT
PAPER WITCHES ARE CREATIVE, FUN AND EASY. KIDS CAN CUT AND DECORATE THEIR WITCH ON THEIR OWN OR YOU CAN HELP THEM GET STARTED BY PROVIDING THEM WITH THE BASIC WITCH ALREADY CUT, GLUED AND READY TO PAINT AND SPRINKLE WITH GLITTER. FOR BASIC INSTRUCTIONS SEE HALLOWEEN PAPER CRAFTS, SEPTEMBER 27, 2017.Tuesday, September 25, 2018
Easy Fall Sign
A fun and easy Fall craft for kids of all ages. Also a great way for kids to enjoy the beauty of watercolors and a simple method that always works. You will cut leaves out of watercolor paper, provide kids with Fall watercolors (tube paints work great) , instruct them to put water on paper first, and then add dabs of colors here and there, letting them run together. Fall colors are "friends" so always look good together. After all pieces are glued or tied to sign, hang on the door!
Materials ~
Piece of cardboard, jagged cut ends, holes in top for hanging string or jute. Sign can be any size, we used 4X9. Plus a piece of jute or string for hanging. Hole for large leaf on bottom edge. Or more if you want to add more leaves. You can use string to tie on hanging leaf or clear fishing line/thread if you have it.
Fall letters cut out of colored paper and some leaves cut out of watercolor paper (there are patterns online if you need them). You can do a few smaller leaves for top and one large as we did or you can do lots of leaves, anything goes.
A few tubes of watercolors in Fall colors such as red, yellow, and purple. More colors can be mixed from these. If you have a paint box set, that will work too.
Glue for letters and leaves.
Tuesday, September 11, 2018
Tuesday, July 17, 2018
Thursday, March 29, 2018
EASTER EGGS
EASY PAPER MACHE EGGS FOR ALL AGES ~
Easter eggs are created out of balloons and paper mache. The large eggs are from 20" balloons but are not blown up all the way, just far enough to get the egg shape, about 12". 10" balloons make a nice size egg for kids.
Materials ~
Assorted balloons in different sizes, 8", 10", 12", 20", masking tape, torn newspaper strips, liquid starch for paper mache (or any paper mache recipe you like). Gesso or any white acrylic paint for base coat, assorted acrylic colors plus white for mixing, paint brushes, assorted sizes.
For younger kids you can pre paint eggs in bright colors and give them sticky back foam shapes to stick on their egg (photos 2 and 3). This works great for really young kids and for kids who are in the hospital or clinic as it is fun, easy and very neat. For kids old enough to cut out their own shapes you can give them some extra foam and scissors.
Paper Mache tips ~
Blow up some assorted sizes of balloons and stretch them a bit before blowing to help give them more of an egg shape. You may have to try a few as some may be too round. Use masking tape and tape down the balloon knot.
To make eggs strong and smooth it's best to do 3 layers of paper mache and let each layer dry before applying the next. This can take a few days (due to drying time) but it's worth it as eggs will be strong and smooth. It just doesn't work as well trying to do 3 layers all at once. Sometimes the balloon collapses or egg gets lumpy.
Painting ~
When eggs are dry, paint a coat of white paint for undercoat, I prefer Gesso but white acrylic paint works too. You can paint eggs one solid color to start or just dive in and paint any way you like. You can paint stripes of color (as shown in first picture) and then paint different designs in each stripe. Try patterns like leaves, swirls and flowers. Starting with big stripes can also be good for older kids as it gives them a place to start and a great big blank egg can be daunting.
FUN FOR ALL AGES!
Wednesday, February 21, 2018
ROBOTS ~ PAPER MACHE
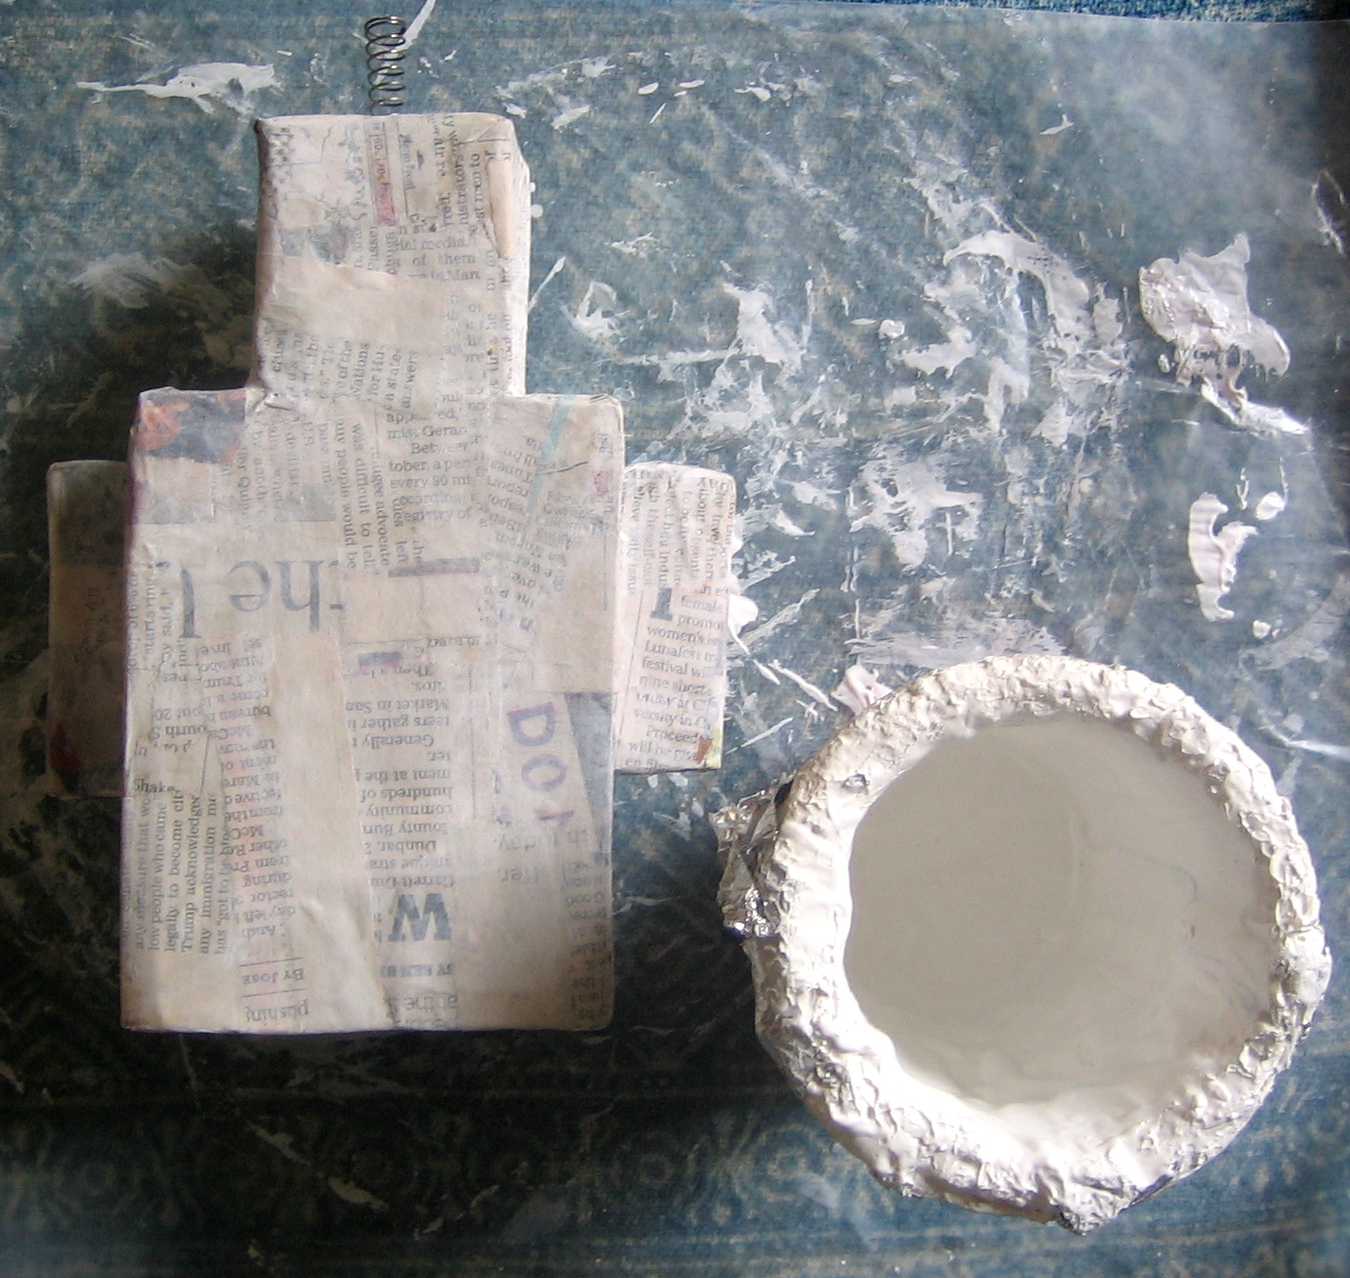
Simple Robots created out of cardboard boxes, pieces of cardboard, some springs and paper mache. Robots can be just about any size, from 4 or 5 inches to a few feet high. After cardboard is taped together, robot is covered with a layer or two of paper mache, a coat of Gesso or white base paint, and it's ready for painting. A fun craft for all ages.
Materials
Cardboard boxes, pieces of cardboard, scissors, masking tape, liquid starch and torn newspaper strips, little springs and or wire, Gesso and assorted acrylic paints and brush.
This robot is about 8 inches high and is made with a box for the main body, a smaller box for the head and 2 pieces of folded cardboard for arms. A little spring was poked into the top of the head but you can also use a piece of coiled wire.
After boxes and cardboard are taped together, cover with a layer or two of paper mache. I prefer liquid starch and torm newspaper strips. Liquid starch is only sold at a few select markets like Stater Brothers but you can use any paper mache recipe you like.
After paper mache is dry, paint a coat of Gesso (or any white acrylic paint) so robot will be nice and bright for painting.
I prefer acrylic paints for paper mache projects as it covers really well. The little inexpensive bottles sold at craft stores work great. Let kids pick out the colors they like and encourage them to paint their robots any way they choose. You can use a clear acrylic top coat for a nice shiny finish which is not necessary but looks great and makes objects a little stronger.
Small cardboard robots are fun and easy to take to kids spending time in the hospital for example. But be sure to try creating other sizes and even extra large ones made from large boxes. You can also cut face pieces and "controls" out of pieces of cardboard and glue them on your robot. Keep it super simple or make it detailed, lots of possibilities.
Subscribe to:
Posts (Atom)